
Create a 10k NFT collection in minutes, without writing a single line of code using the Bueno NFT Generator
September 27, 2023
How to Use the Bueno NFT Generator
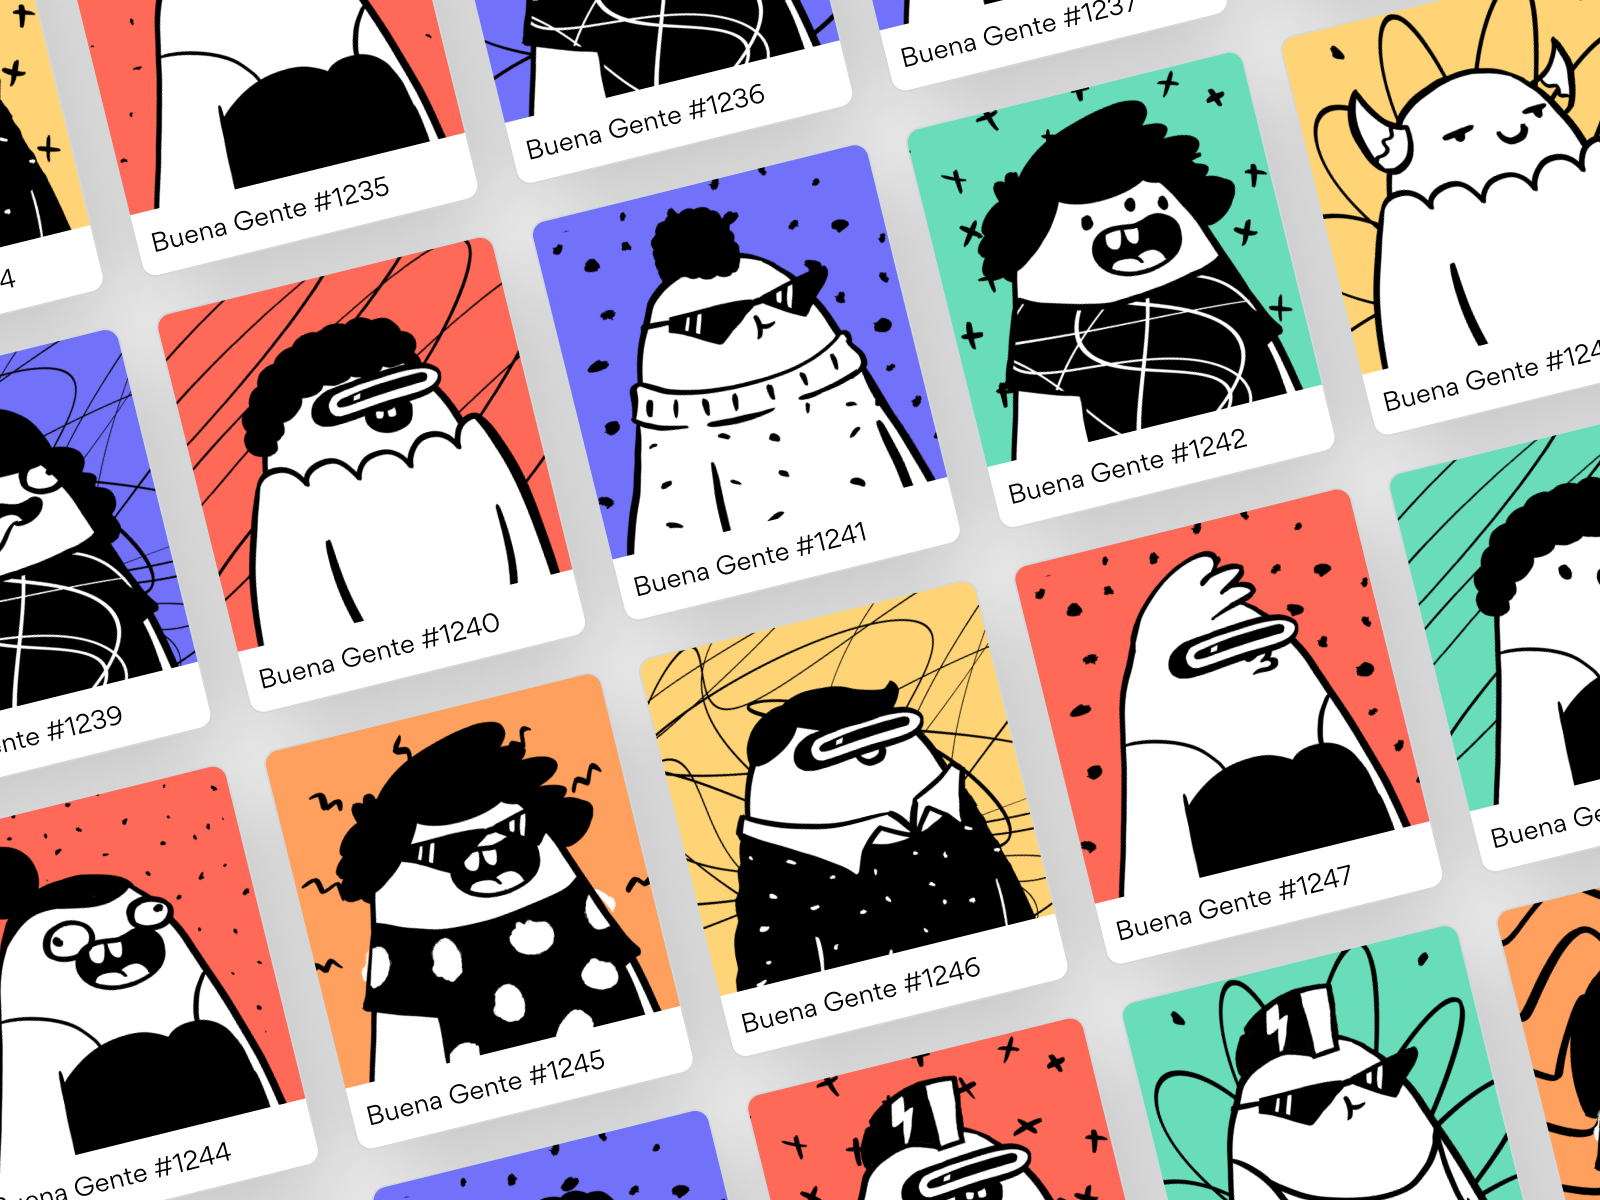
We're so excited that you're here to learn how to create your very own generative NFT collection using the Bueno Generator.
Note: As of March, 2022, users can now order layers using the Templates feature. Videos showing Bueno upload flow may differ from current user interface.
Using the Bueno Generator with Photoshop:
Using the Bueno Generator with Figma:
Creating animated NFTs with Bueno:
Step 1: Prepare your art to upload to the Bueno Generator
To create your collection with the Bueno Generator, you will need to use one of the following options to export all of your layers.
Figma: Download the Bueno Figma plug-in
Photoshop: Download Export Layers to Files Fast
Within Photoshop, organize your components into folders of traits (eyes, mouths, ears, nose, etc.).
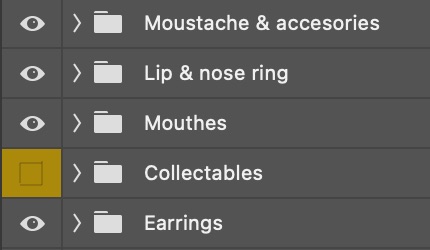
Once all of your components and traits are organized and layering how you want them to, you'll run the Export Layers to Files Fast plug-in.
Navigate to File > Scripts > Browser > Export Layers to Files Fast
Once you're in the export window, make sure to set the Output options to Groups as Folders, and select Transparency with PNG-24 format for the highest quality export as pictured below.

The export function can take anywhere from 1-30+ minutes depending upon your file size, computer specifications, and the number of layers being exported.
Once exported, you will have a parent folder which holds all of your components with trait layers inside.
You're ready to move to Bueno now! 🎉
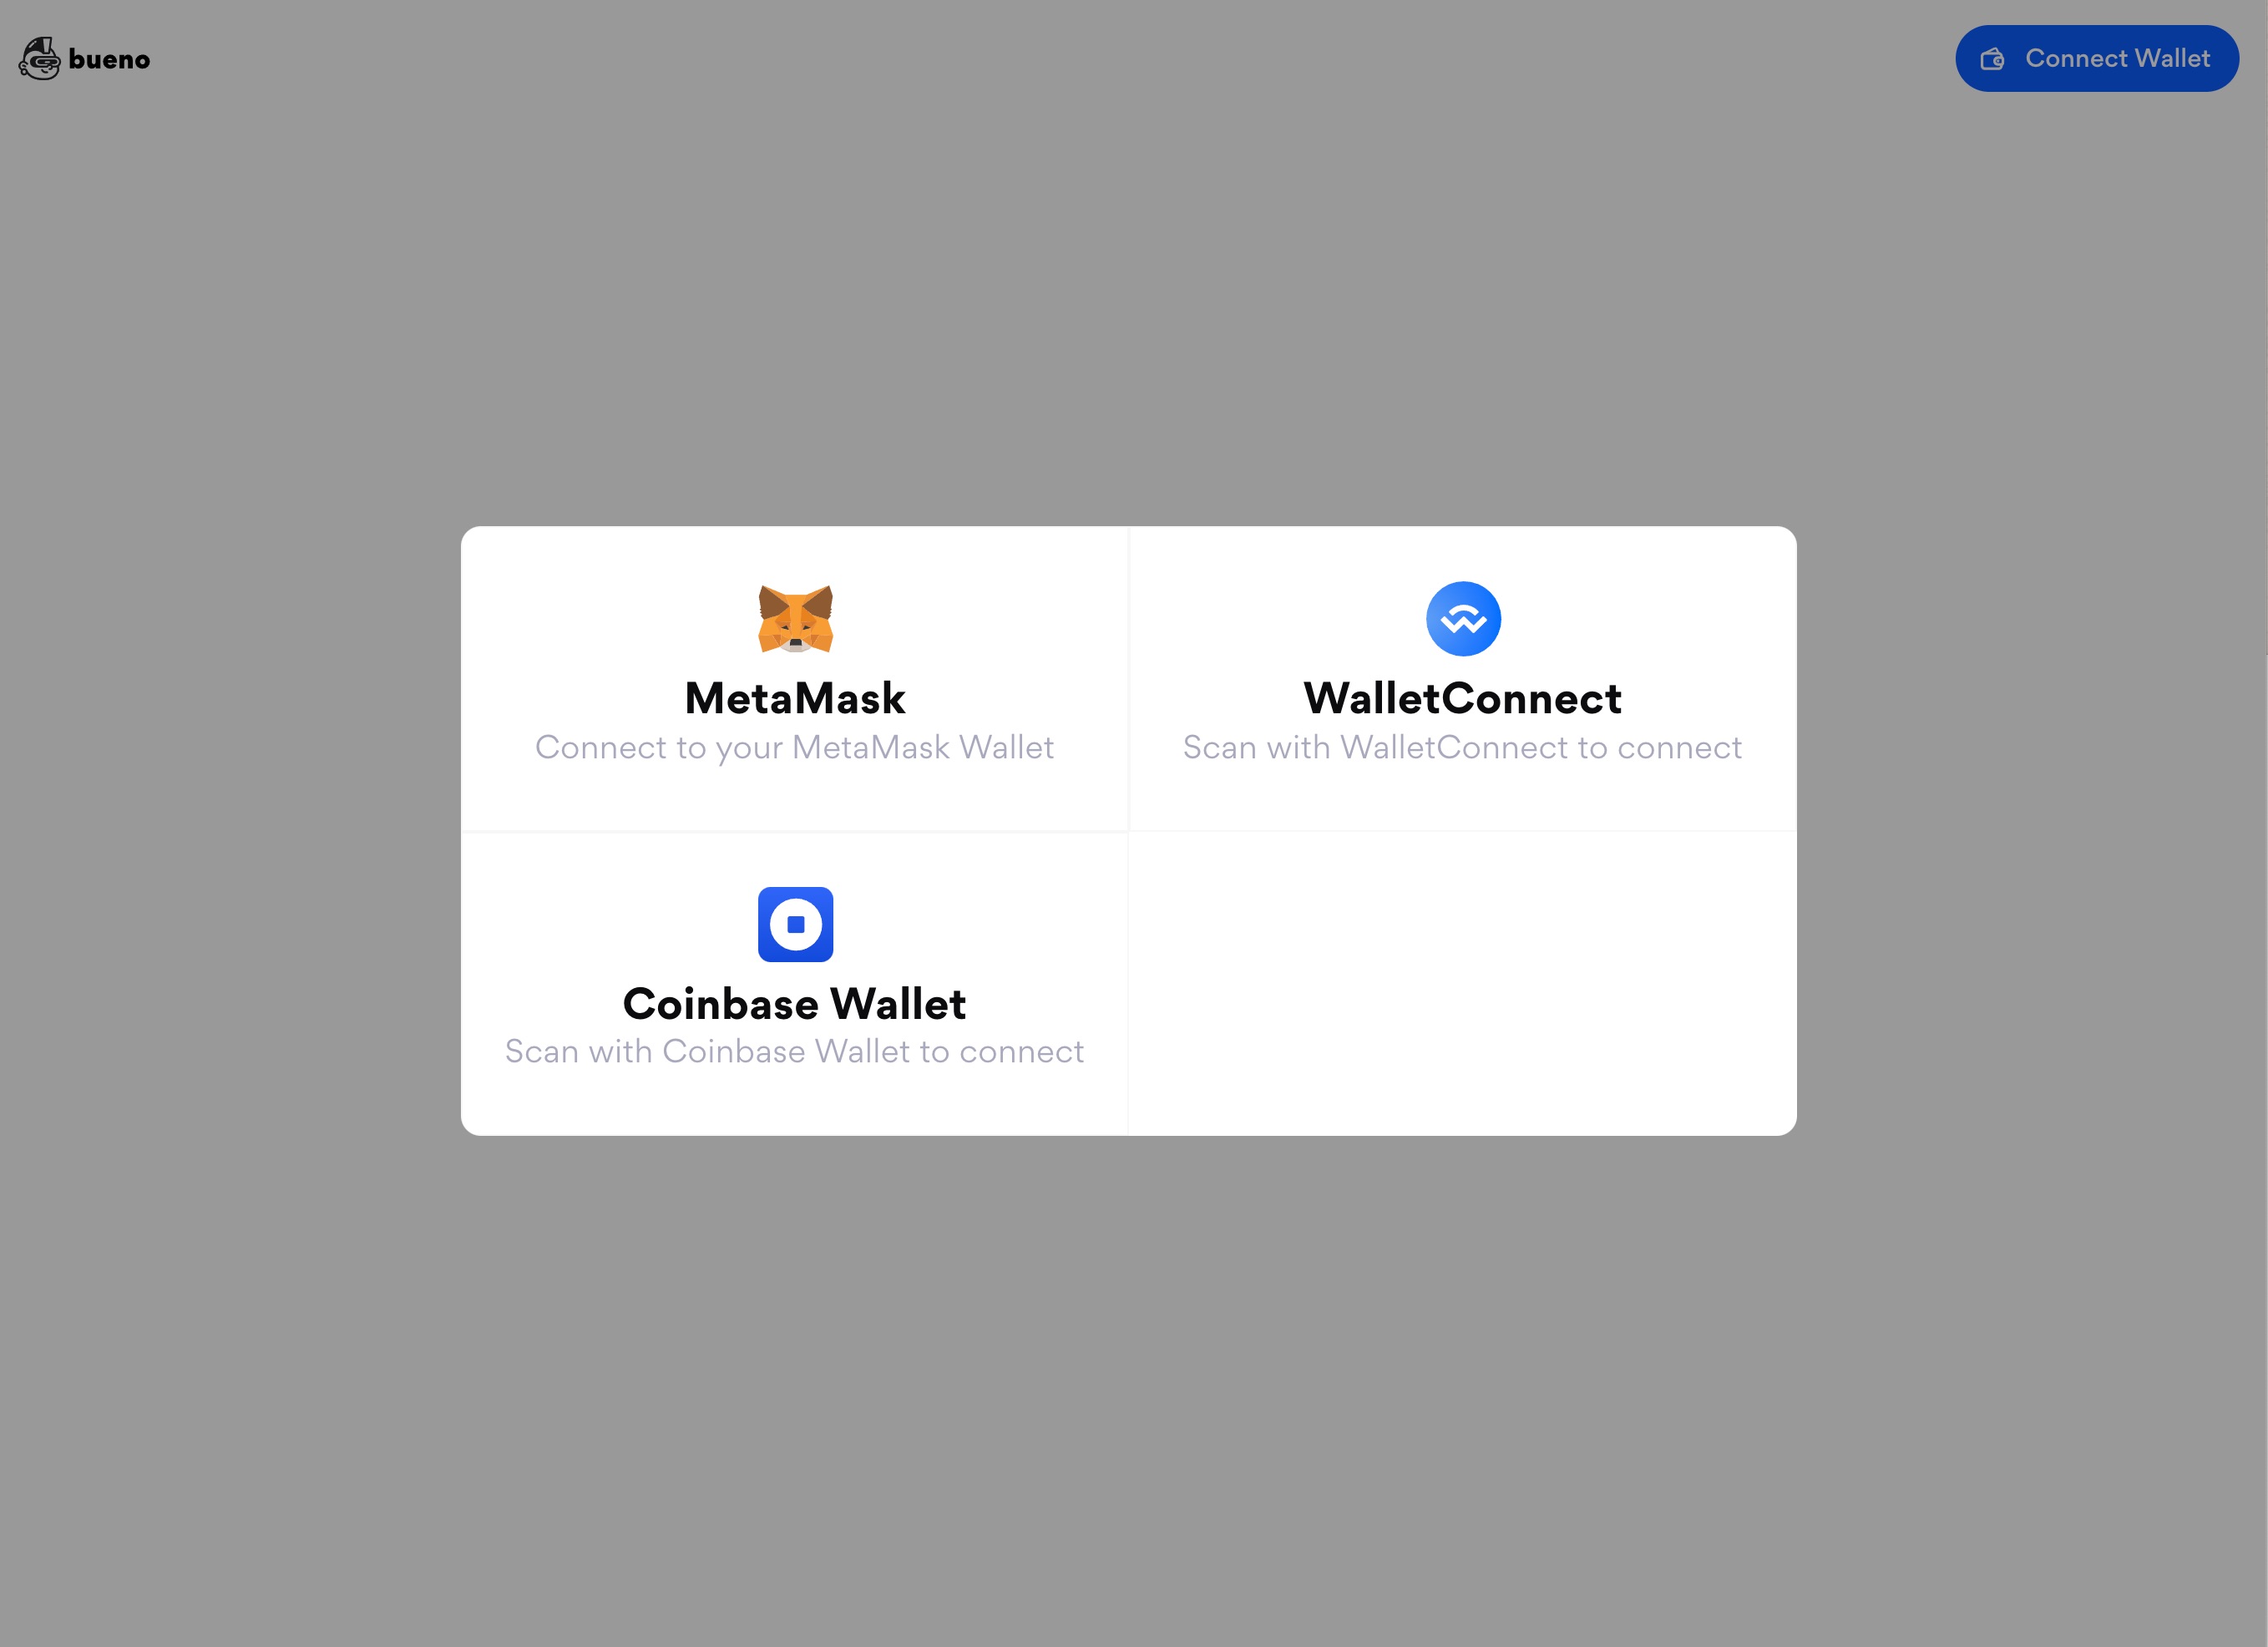
Step 2: Open Bueno NFT Generator and connect your wallet to log in
You will need to have either a MetaMask, Coinbase, or WalletConnect supported wallet in order to log in and use the Bueno NFT Generator. Click to connect, then follow the prompts in the modal to connect your wallet to Bueno.
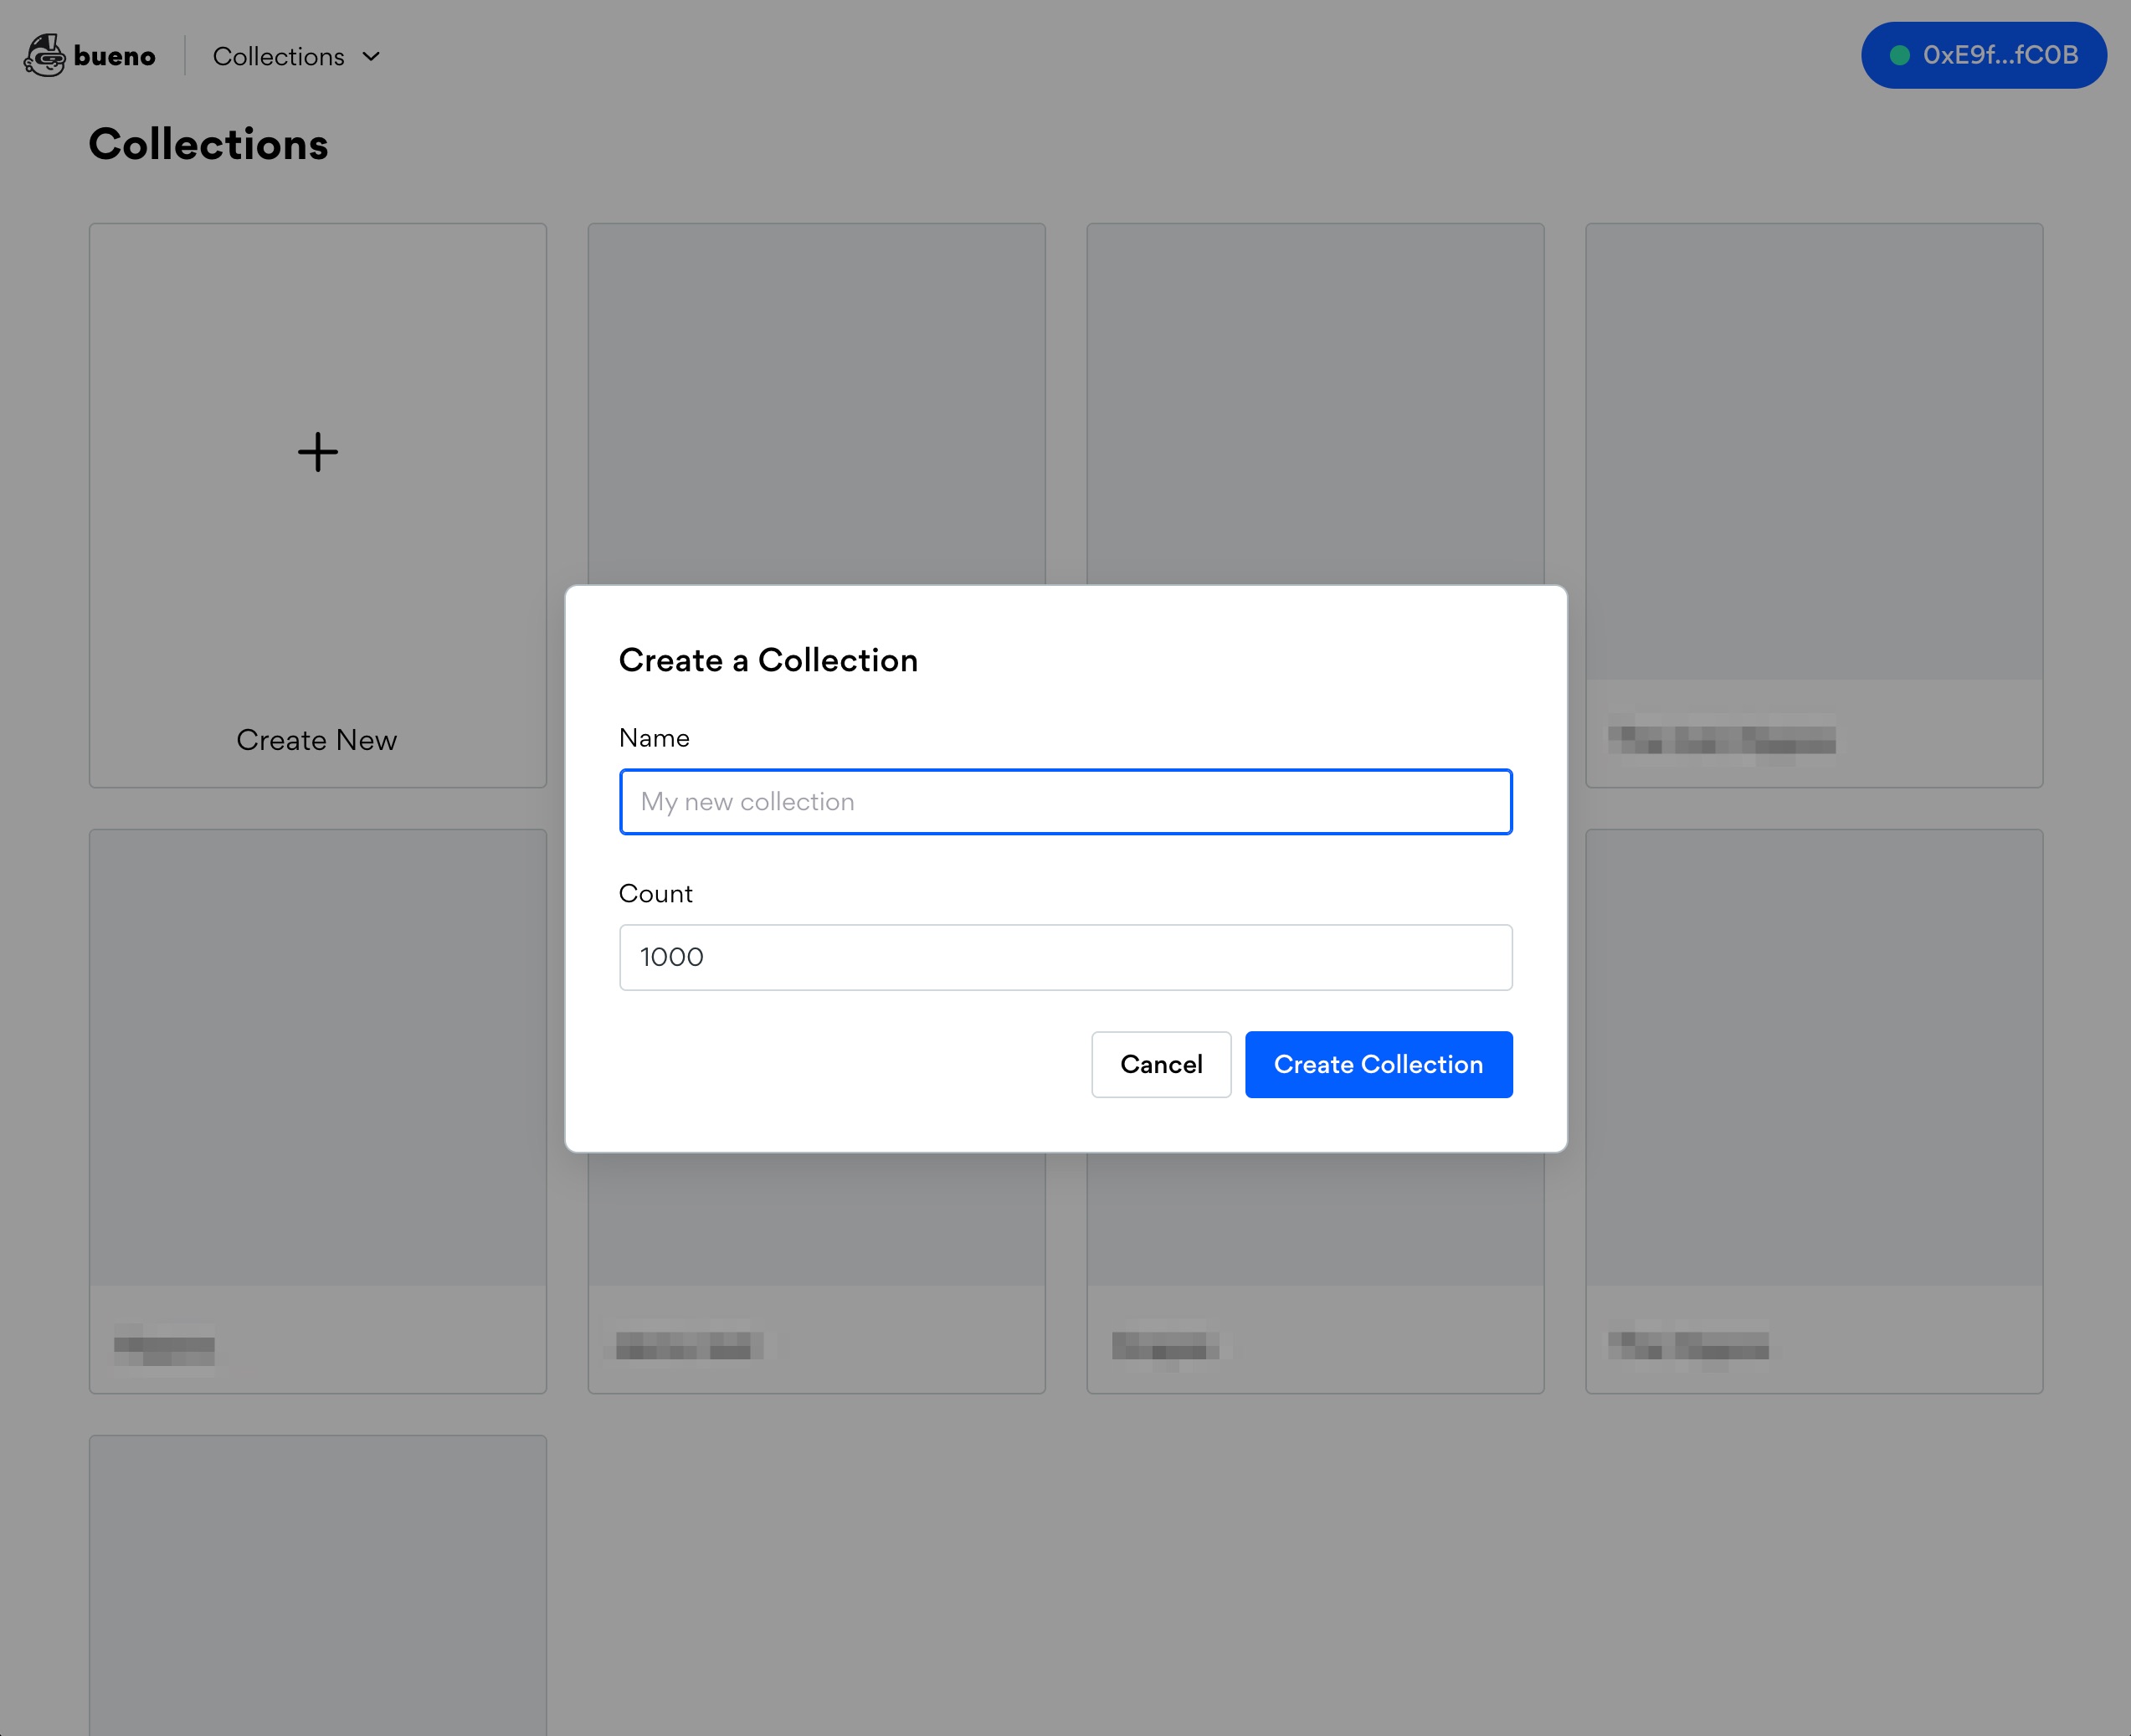
Step 3: Create a new collection and upload your art to the Bueno NFT Generator
Click the Create New button and give your collection a name and a token count (you can change these later in settings).
Now, you can click to select the folder to upload, or drag and drop the parent folder into the browser to upload your artwork.
It's important to select the parent folder which holds all of your component folders during this process. Depending upon the image size and your connection speed, this can take anywhere from a few seconds to a few minutes.
Step 4: Sort your layers in the correct order in your Default template
We recommend referencing your original Photoshop file to know which order the components must be ordered to layer and stack correctly. Click and drag layers to re-order them.
Step 5: Configure rules for components or individual traits
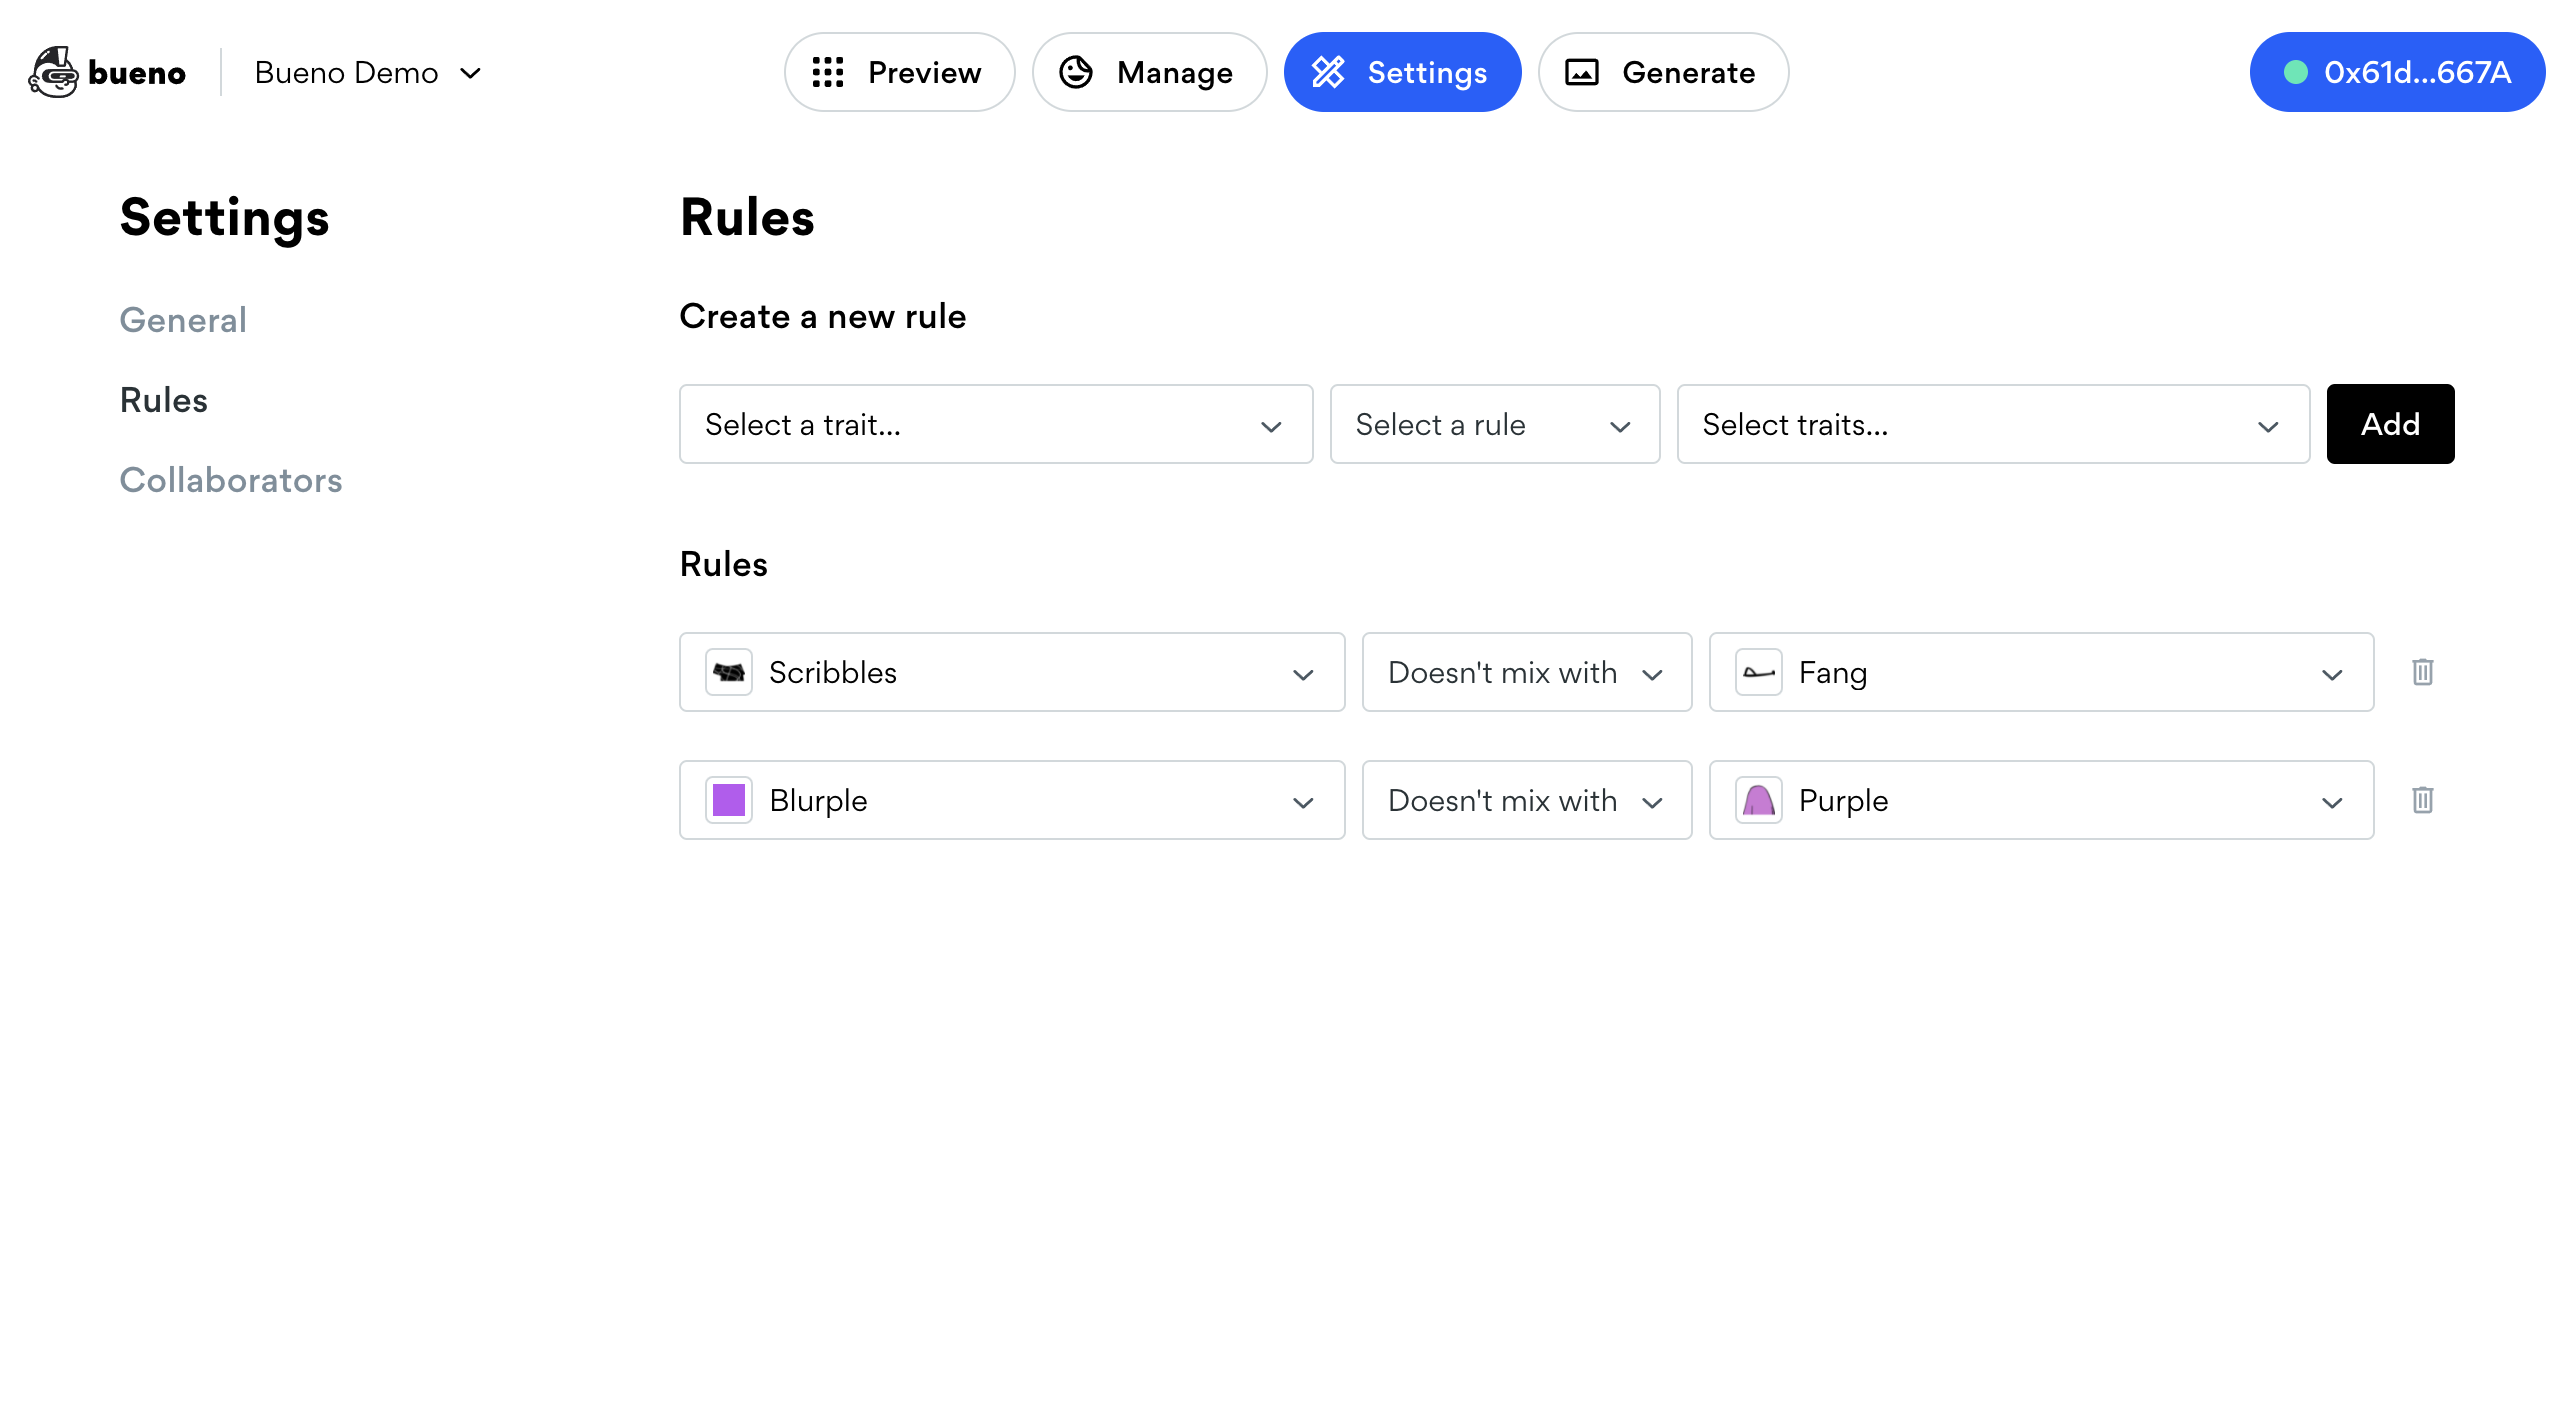
While creating each of the traits in your collection, you may find that some traits do not mix well with others. In these cases, you want to create rules within the Rules tab of Settings.
In the first dropdown, you can select an entire component with all traits, or you can select an individual trait.
In the second drop down you can select "doesn't mix with" or "only shows."
In the third drop down, you can multi-select components or traits which either don't mix or only show with the first selected component or trait.
You can add as many rules as you like, delete them, or modify them at any time.
When a rule is added or modified, a new token set will generate in the Preview tab.
Step 5: Preview your collection and continue to add rules as needed
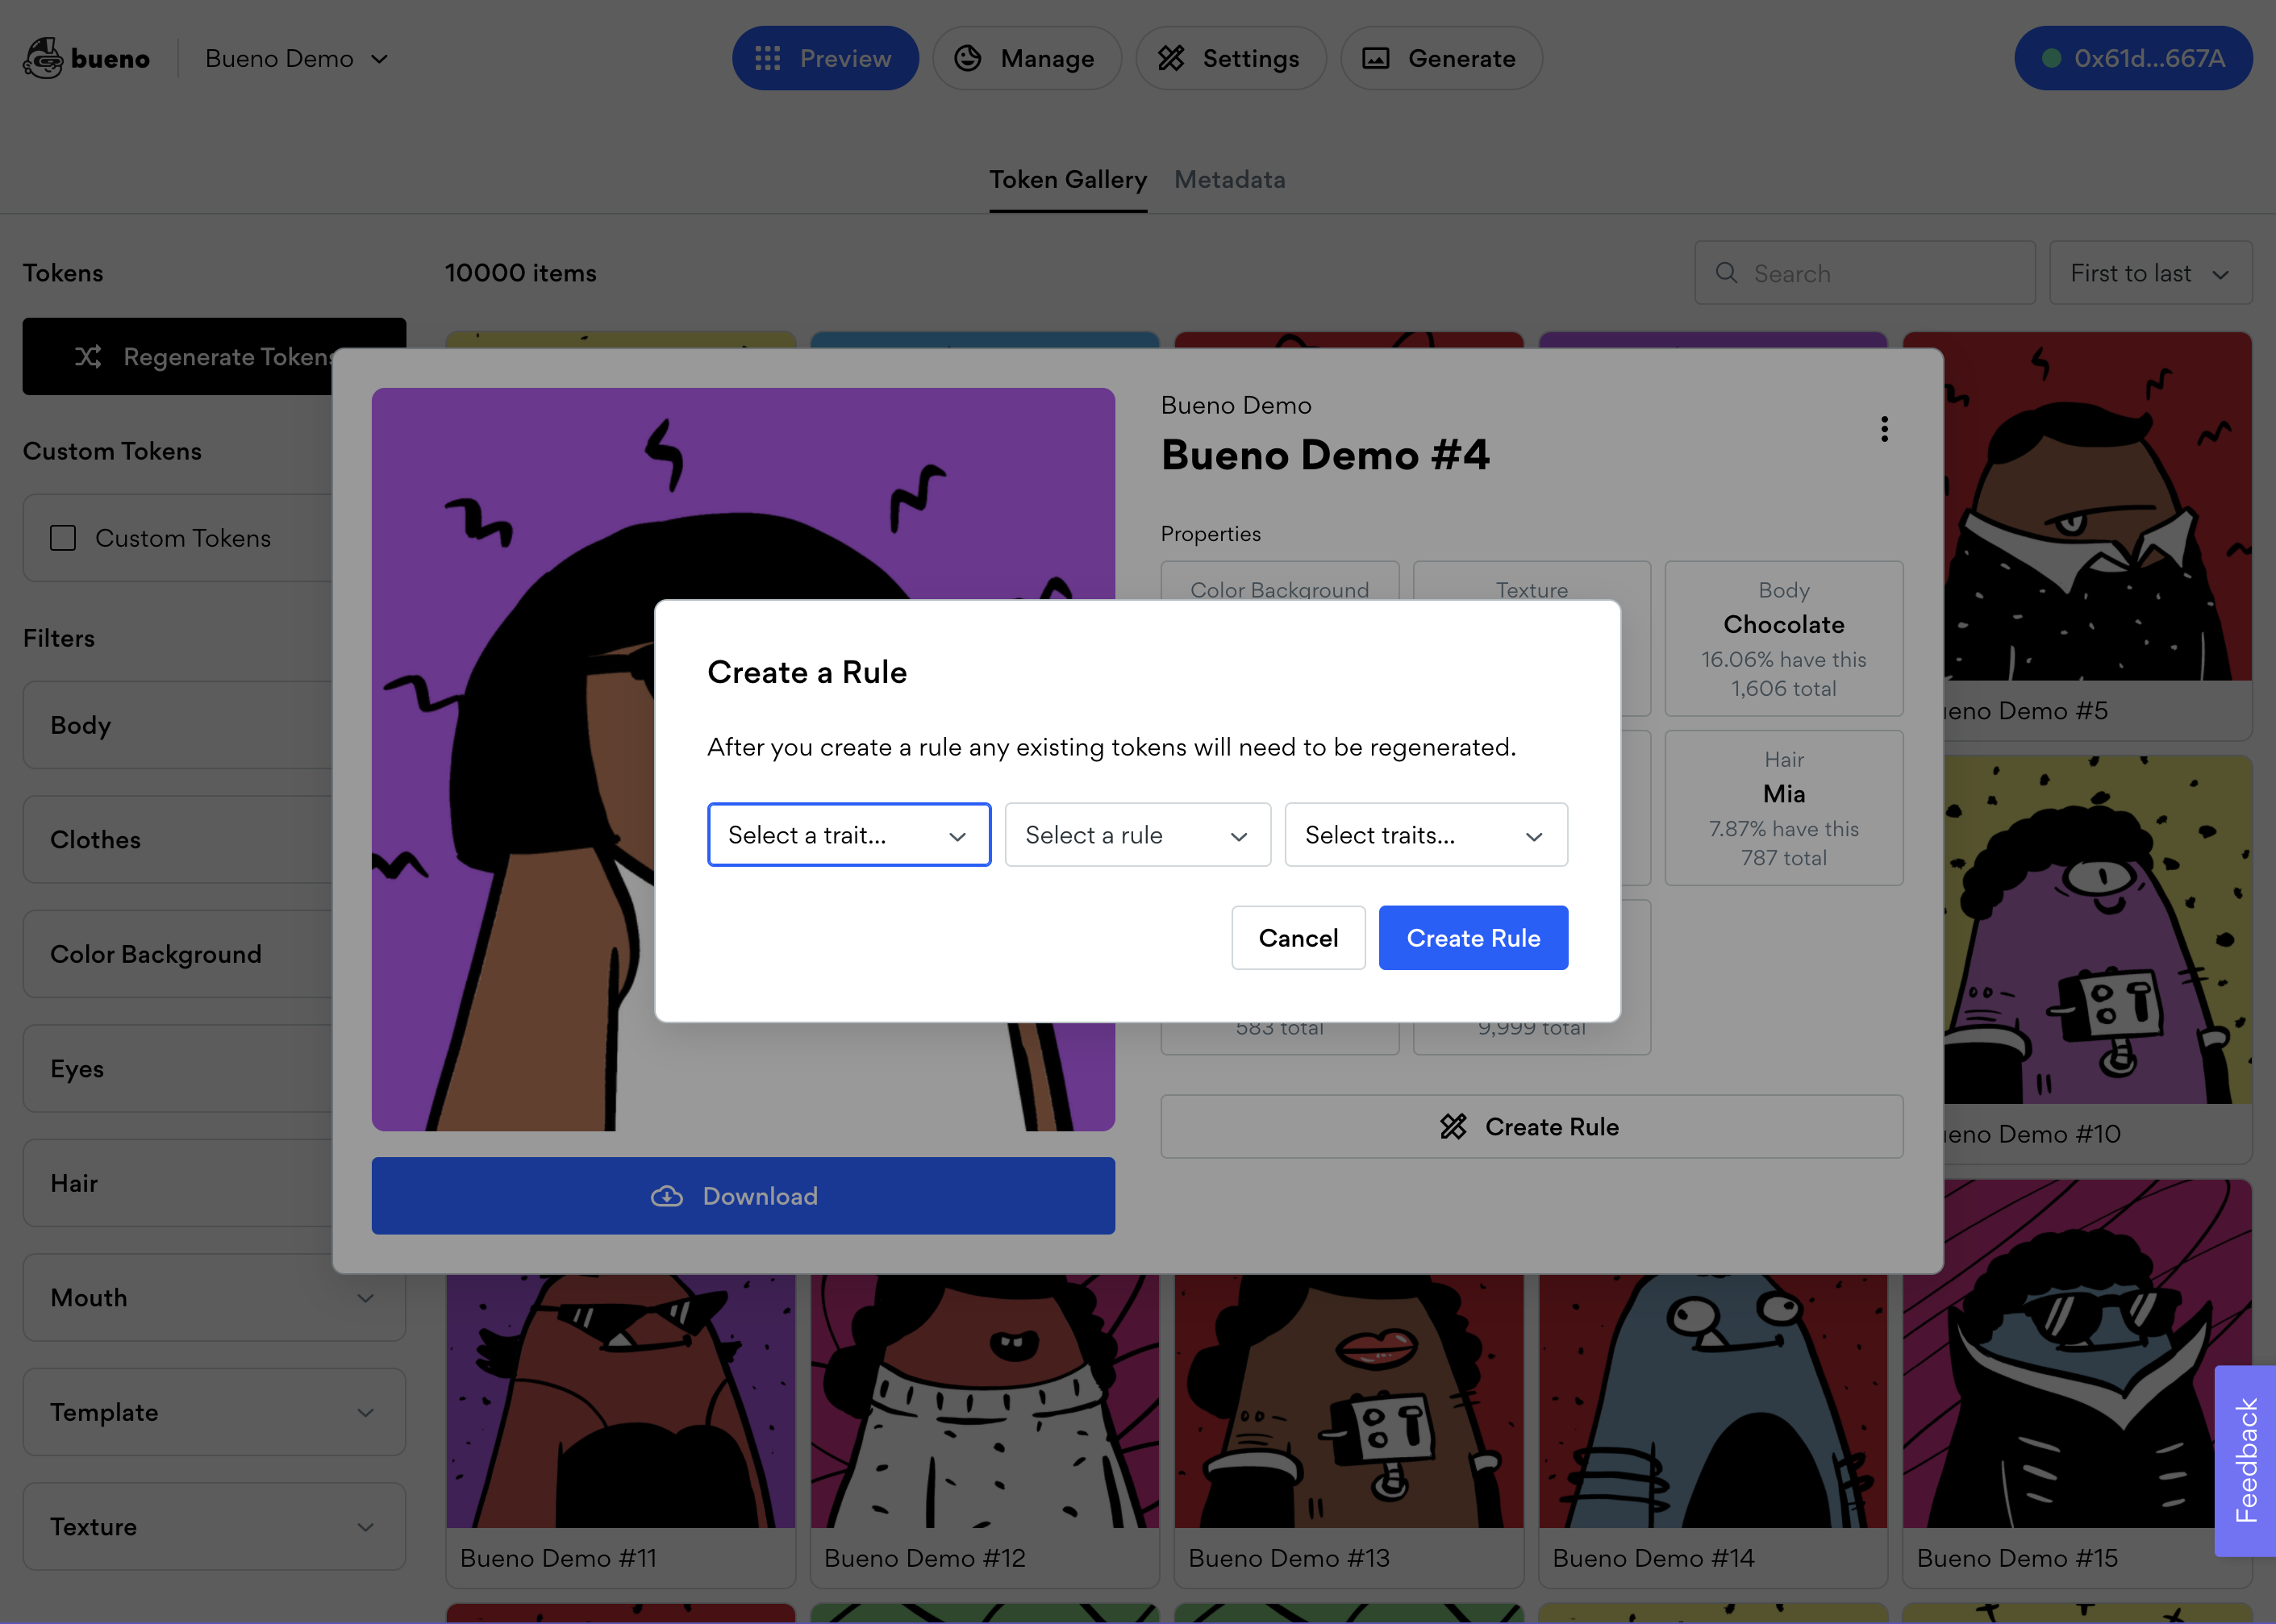
Go to the Preview tab, this is where you will click the Regenerate Tokens button to generate a new set of randomized tokens.
If you see something that looks off on any particular token, you can click into that token and create new rules between traits. Please keep in mind that any new rule addition will generate a brand new preview thereafter.
At any point if you find that a layer looks broken and needs to be re-uploaded, you can re-export and upload the replacement files under the Manage tab.
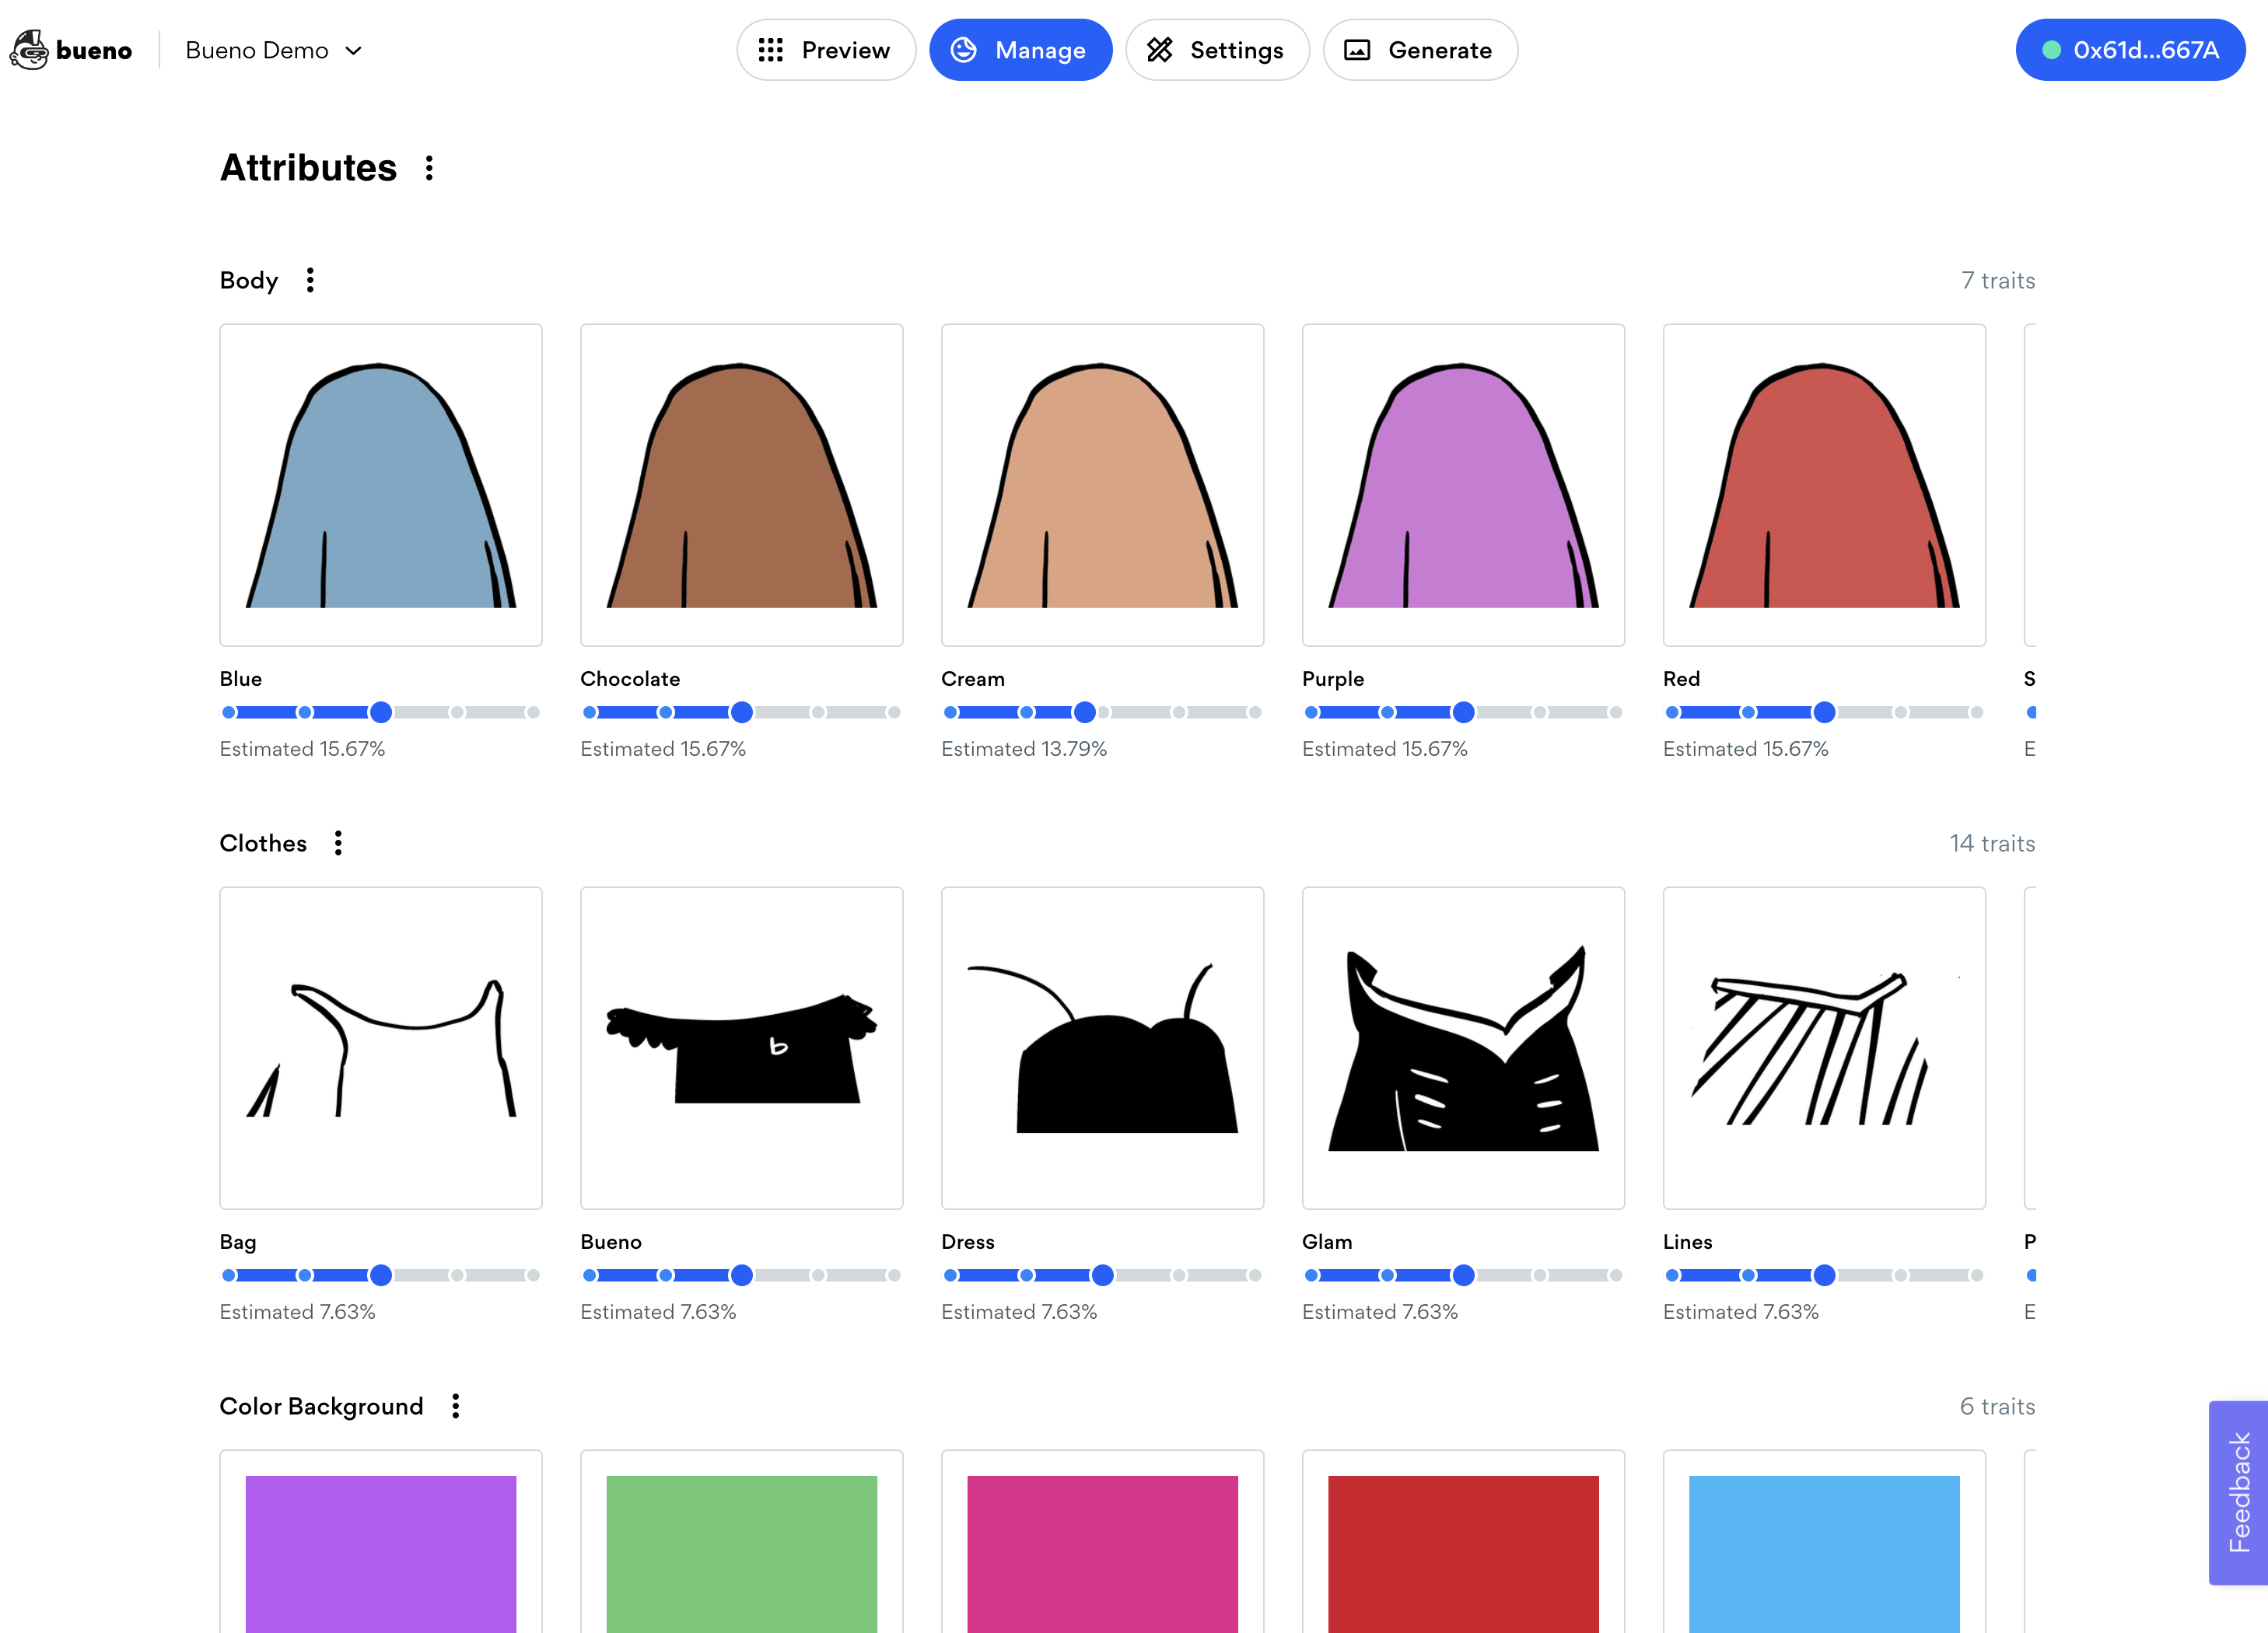
Step 6: Set the rarity on each of the component traits
Go to the Manage tab, here you will set the rarity of each individual trait within the components. For components with attributes which may not always appear, set a less than 100% rarity for the entire component to not appear every time (often used for accessory layers like earrings, jewelry, etc.).
Set the rarity by dragging the percentage slider below each trait.
Step 7: Generate and export your tokens and metadata
Once you are ready to export your tokens and metadata, go to the Generate tab to generate the preview set of tokens (what you saw in preview), or a new set of tokens with full randomization.
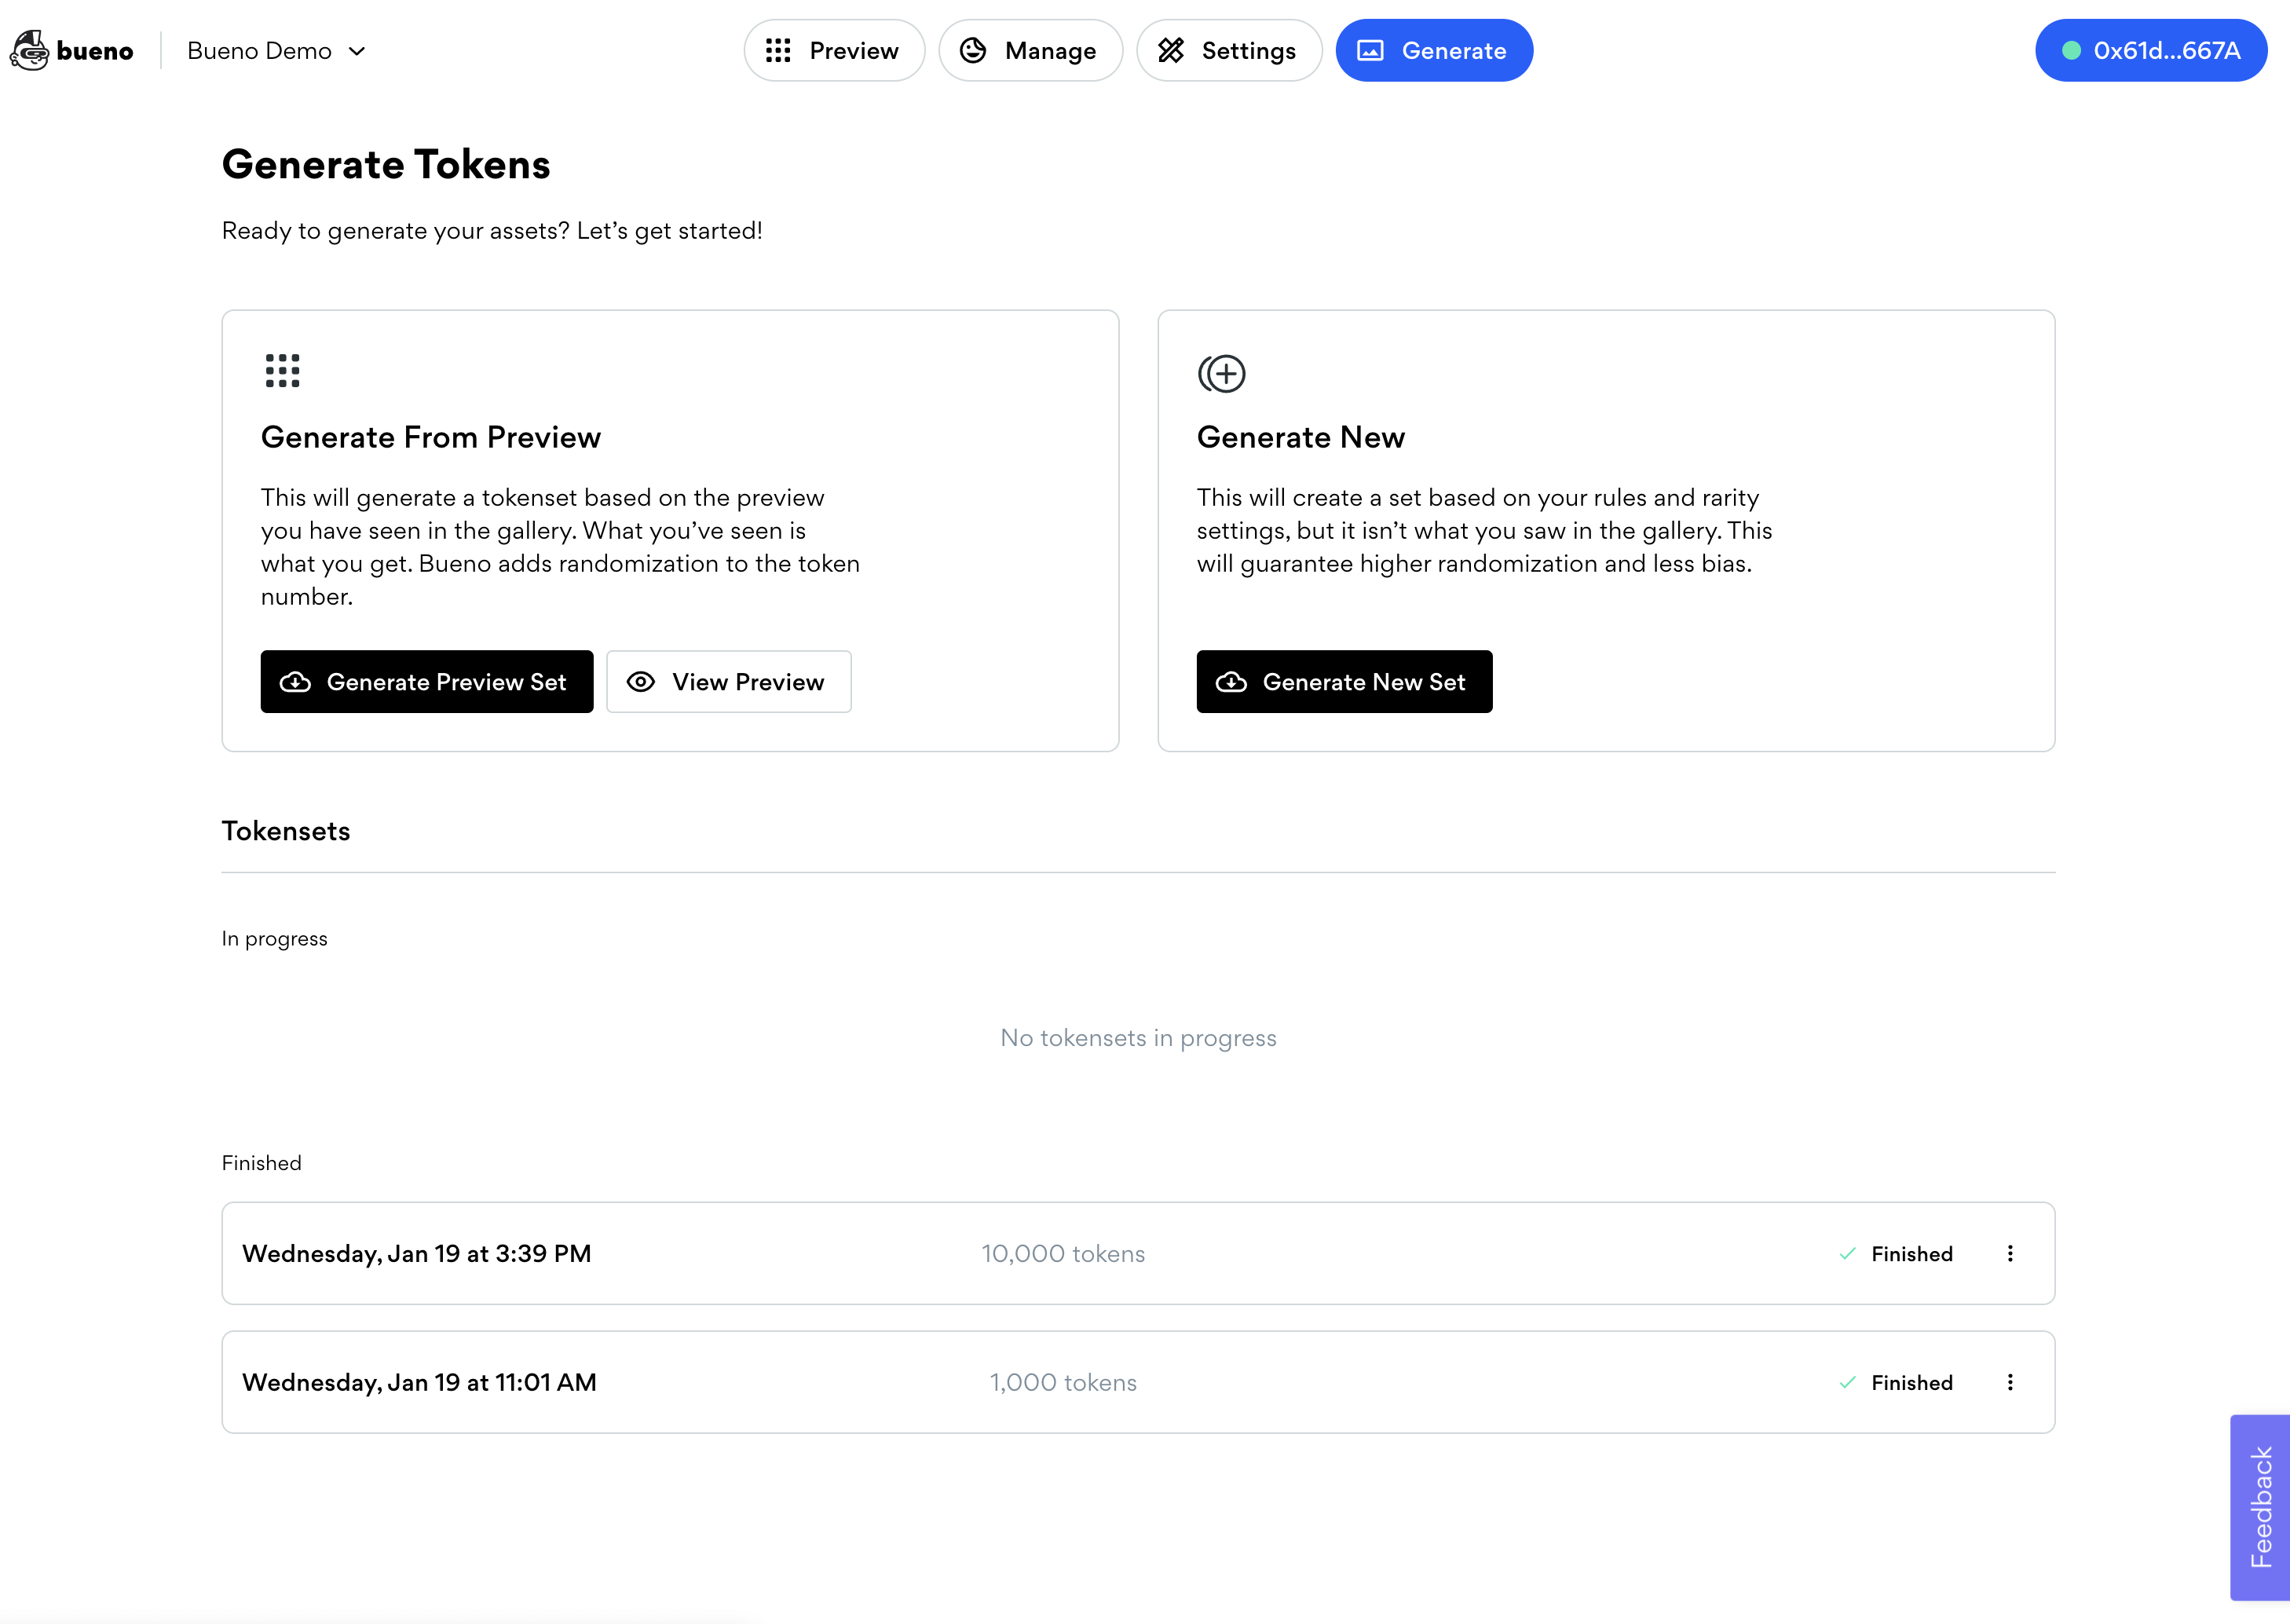
Congratulations! You have successfully created a generative NFT collection in Bueno. Upon generating and downloading your assets, you will be prompted with a payment screen in ETH to checkout.
If you have any questions during the process, please contact our team via Discord for help! 😄
Buenos Días!


